AWS S3
AWS S3 is a standard storage instance provided by Amazon Web Services. Many businesses use AWS S3 to store all kinds of files and data.
You can use your AWS S3 bucket to store your site backups generated with ServerAvatar. If you are not already an AWS user, the process might seem lengthy and difficult compared to other storage services like Wasabi, Dropbox, and Google Drive. But if you have experience with AWS, it will be easier for you to integrate AWS S3 with ServerAvatar.
Here are the steps you must follow to connect ServerAvatar with AWS S3.
Create User for S3 on AWS
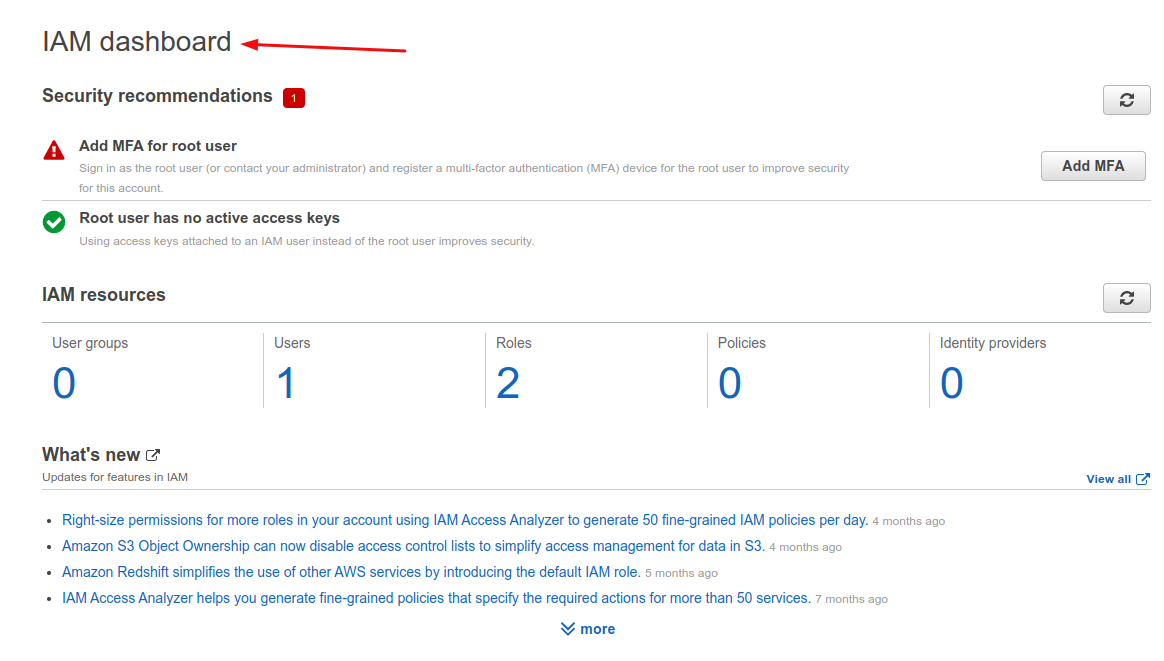
Step 1: Sign in to the IAM console.
Step 2: Click on Add users.

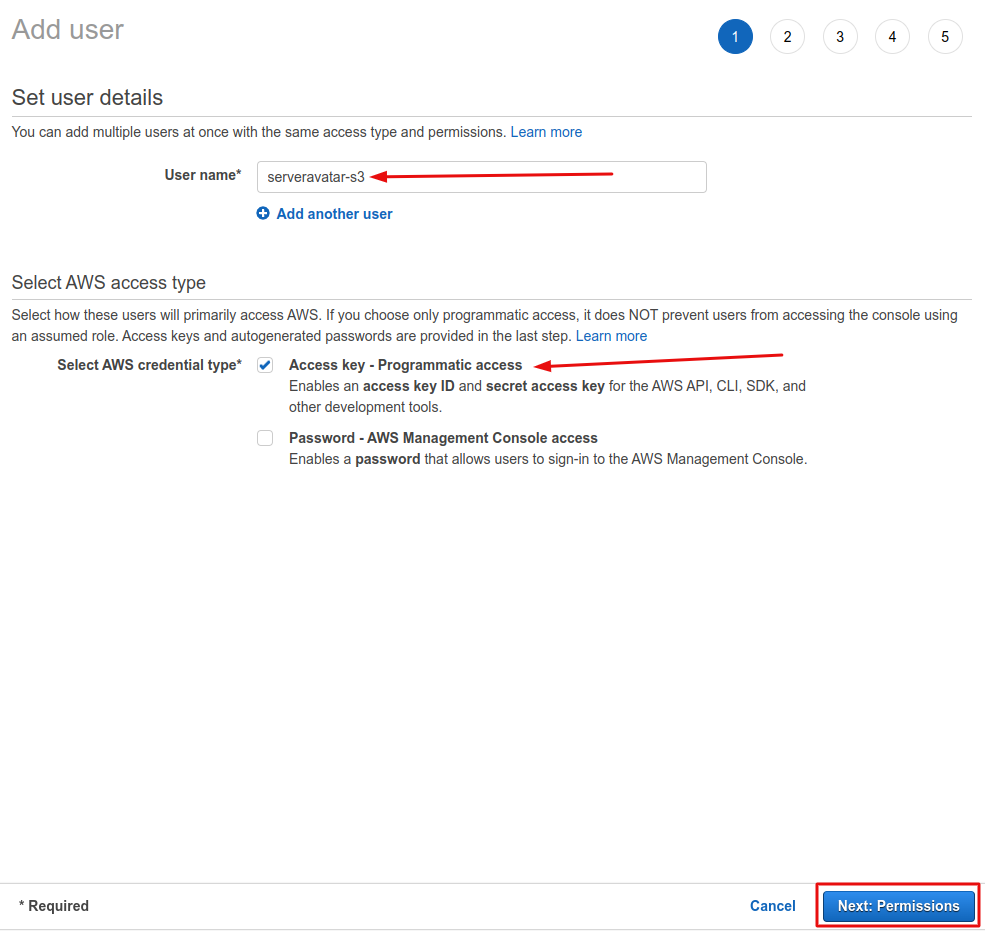
Step 3: Enter a user name and Select AWS credential type of Access key - Programmatic access. Click on Next: Permissions.
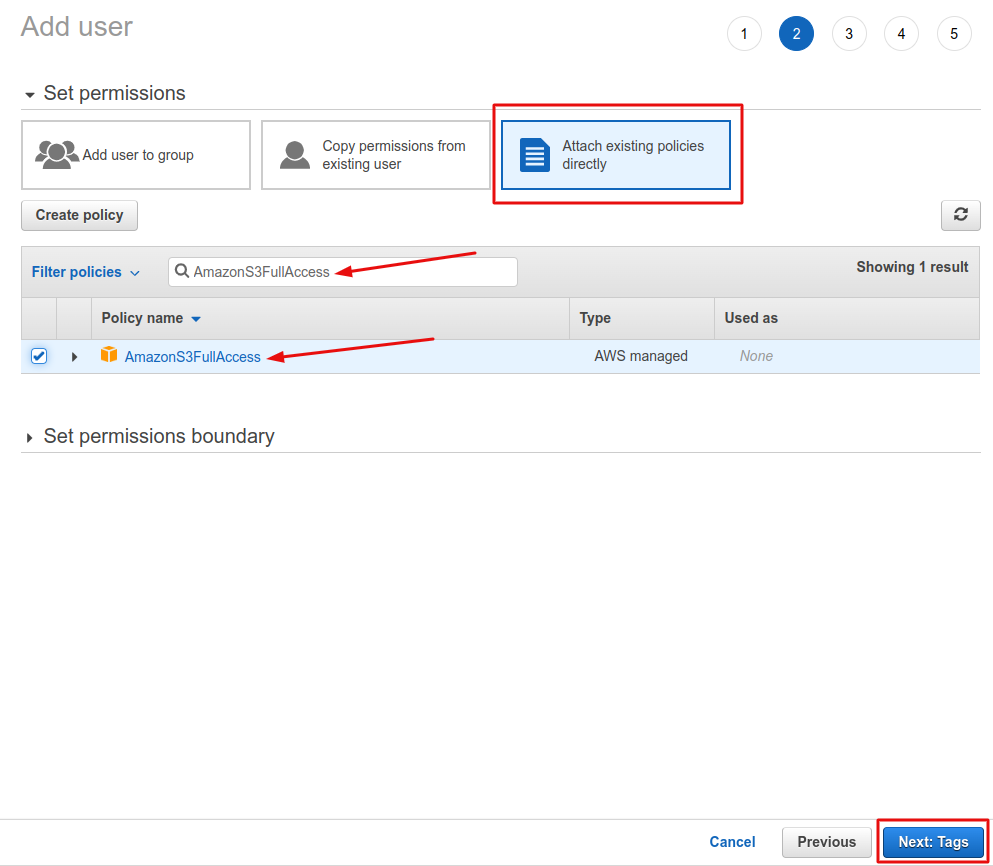
Step 4: Click on a box of Attach existing policies directly and search AmazonS3FullAccess. Then click on the Next: Tags button.
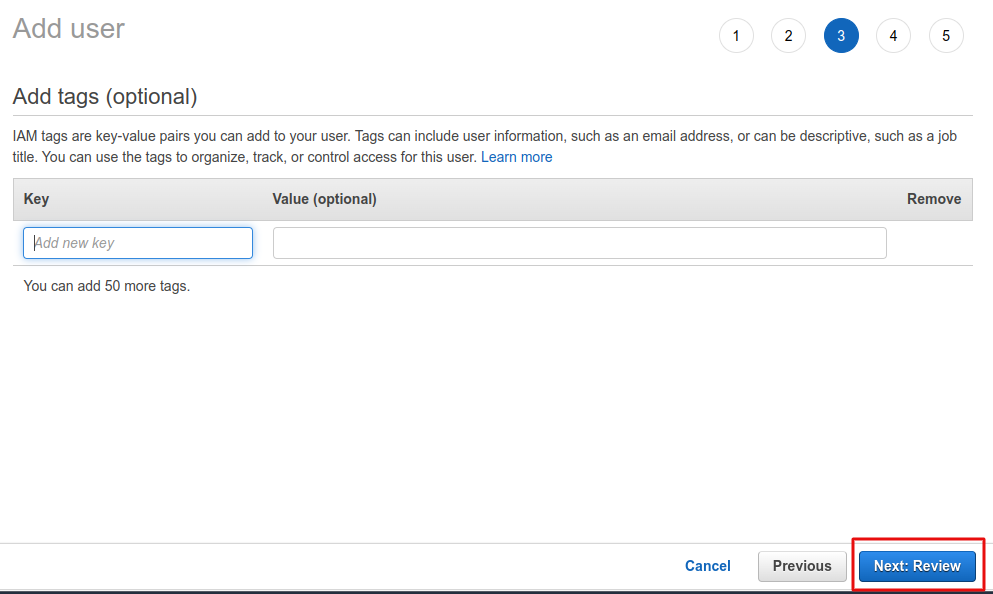
Step 5: Click on the Next: Review button.
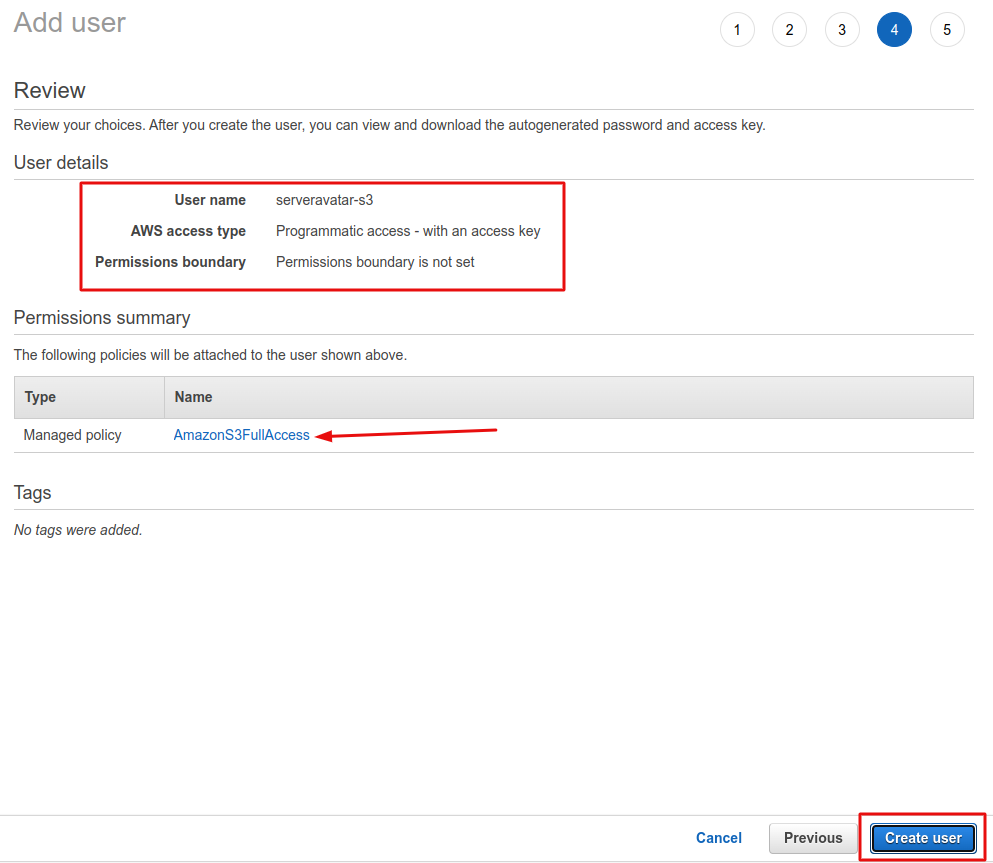
Step 6: Review your user and click on Add user button.
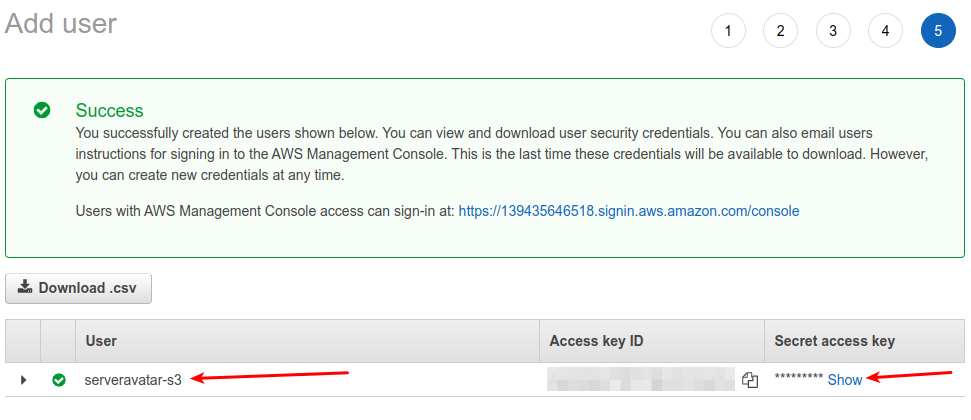
Step 7: Copy of access key and secret key and save them.
Create Bucket on AWS S3
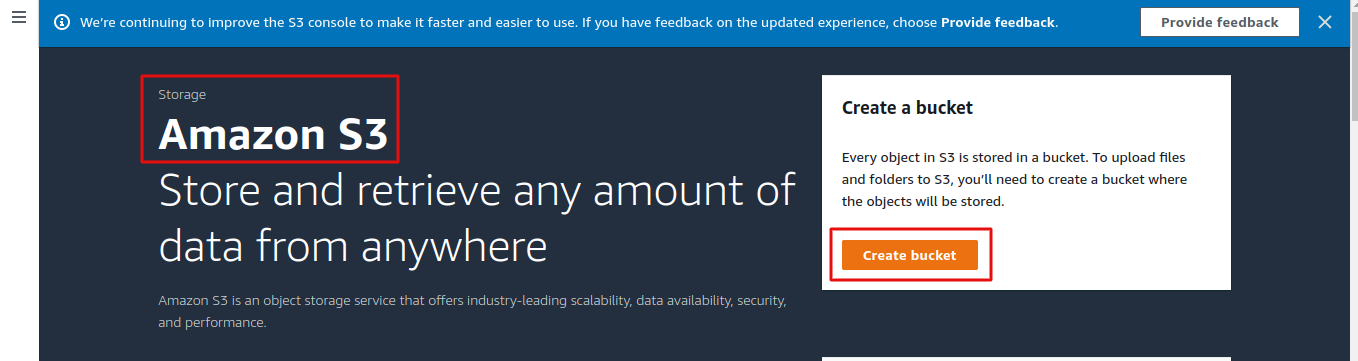
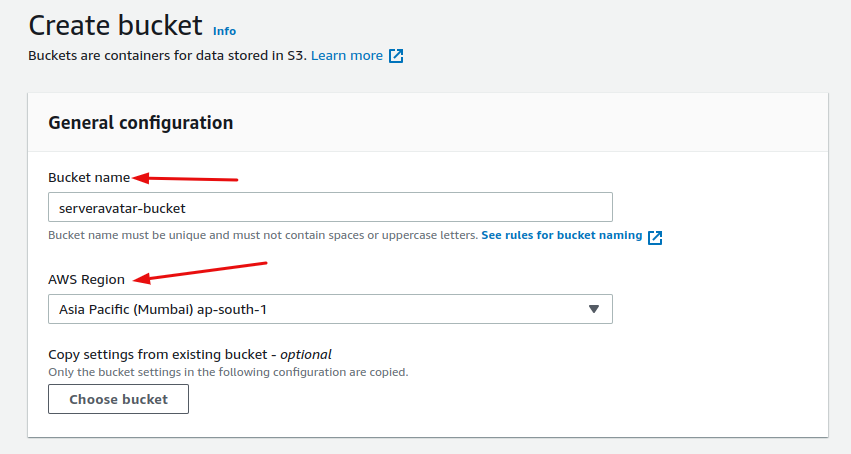
Step 1: Sign in to the Amazon S3 and click on Create bucket.
Step 2: Enter Bucket name and choose AWS Region.
Step 3: We recommend choosing "ACLs disabled" for object ownership.

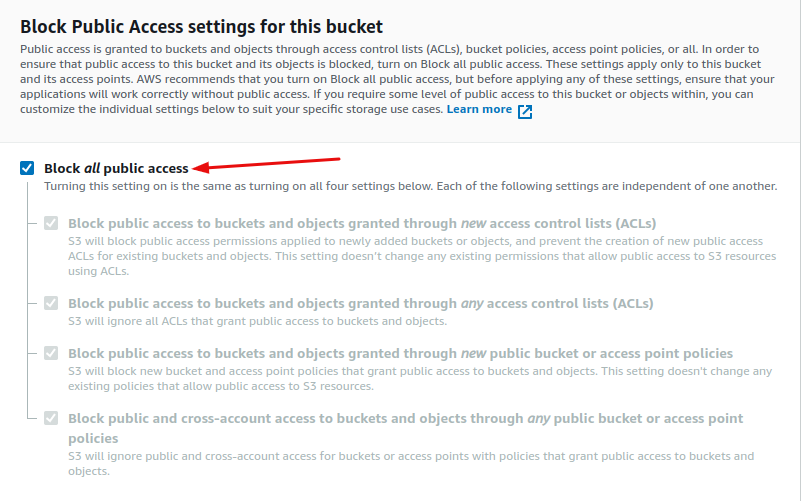
Step 4: We recommended choose Block all public access for this bucket.
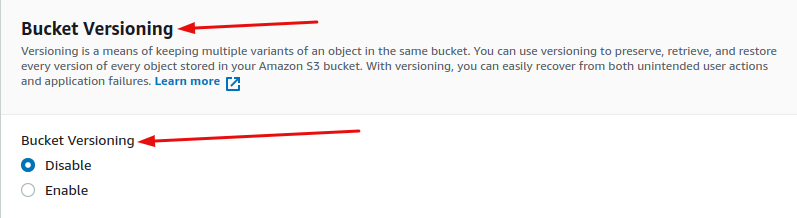
Step 5: You can choose to disable or enable bucket versioning.
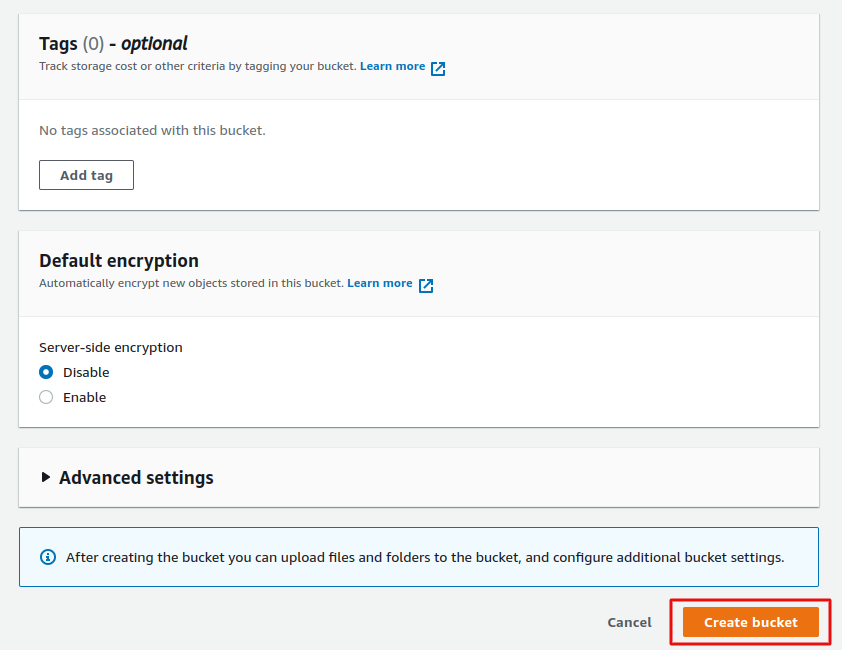
Step 6: Click on Create bucket button.
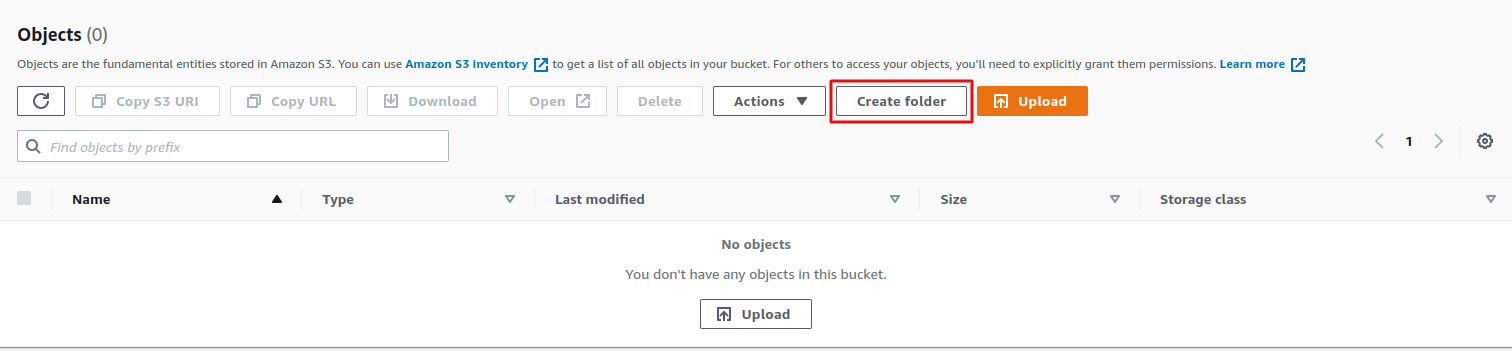
Step 7: Click on your bucket link.

Step 8: Click on Create folder button.
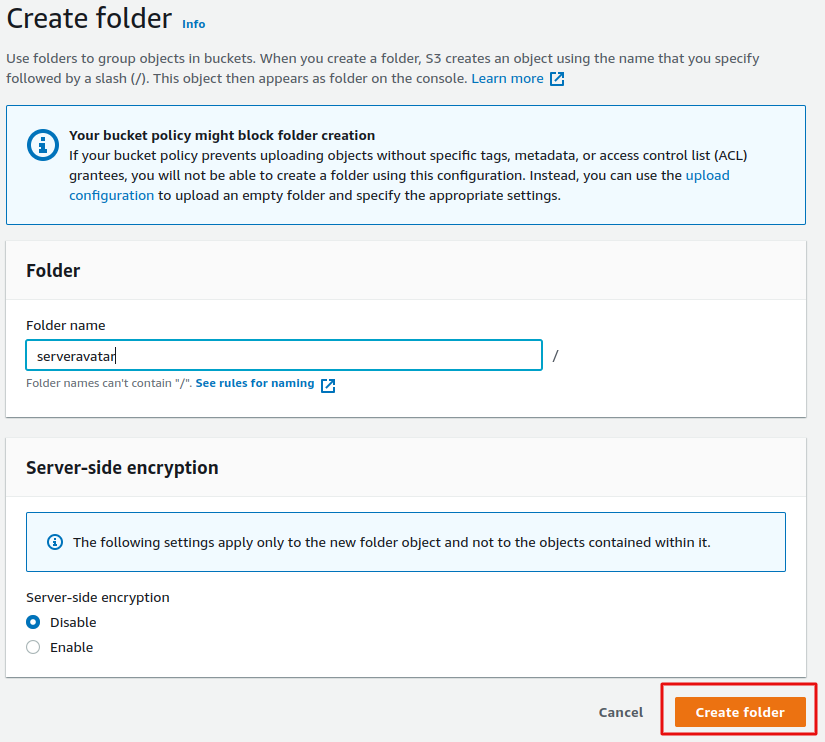
Step 9: Enter the Folder name “serveravatar” and click on Create folder.
Set up Amazon S3 Provider on ServerAvatar
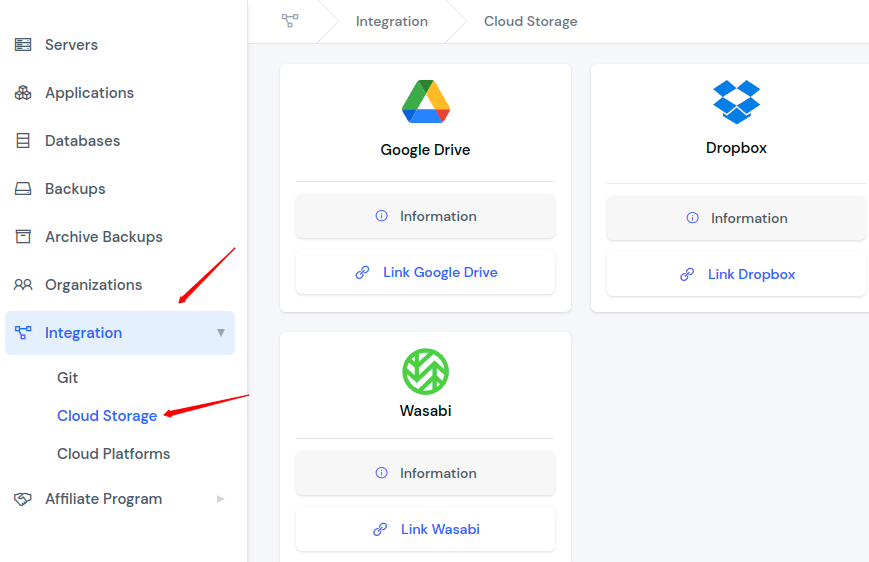
Step 1: Click on an Integration on the left sidebar, then click on Cloud Storage.
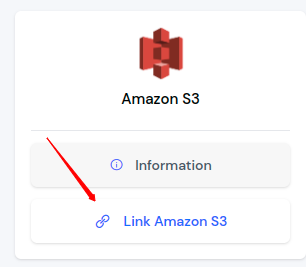
Step 2: Click on the Link Amazon S3 button.
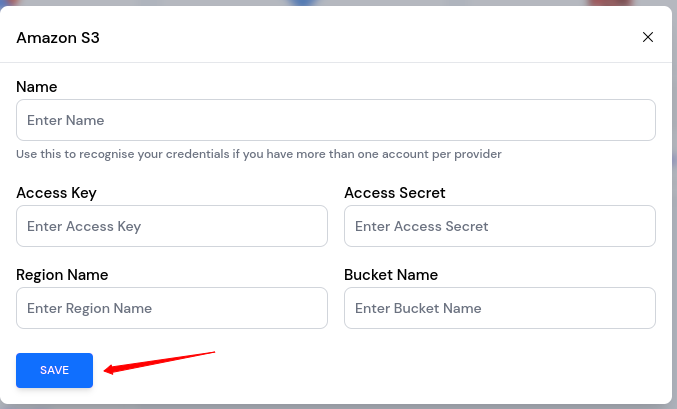
Step 3: Enter Name, Access Key, Access Secret, Bucket Name and Region Name after a click on the Save button.